Hands Free Eclipse Photography
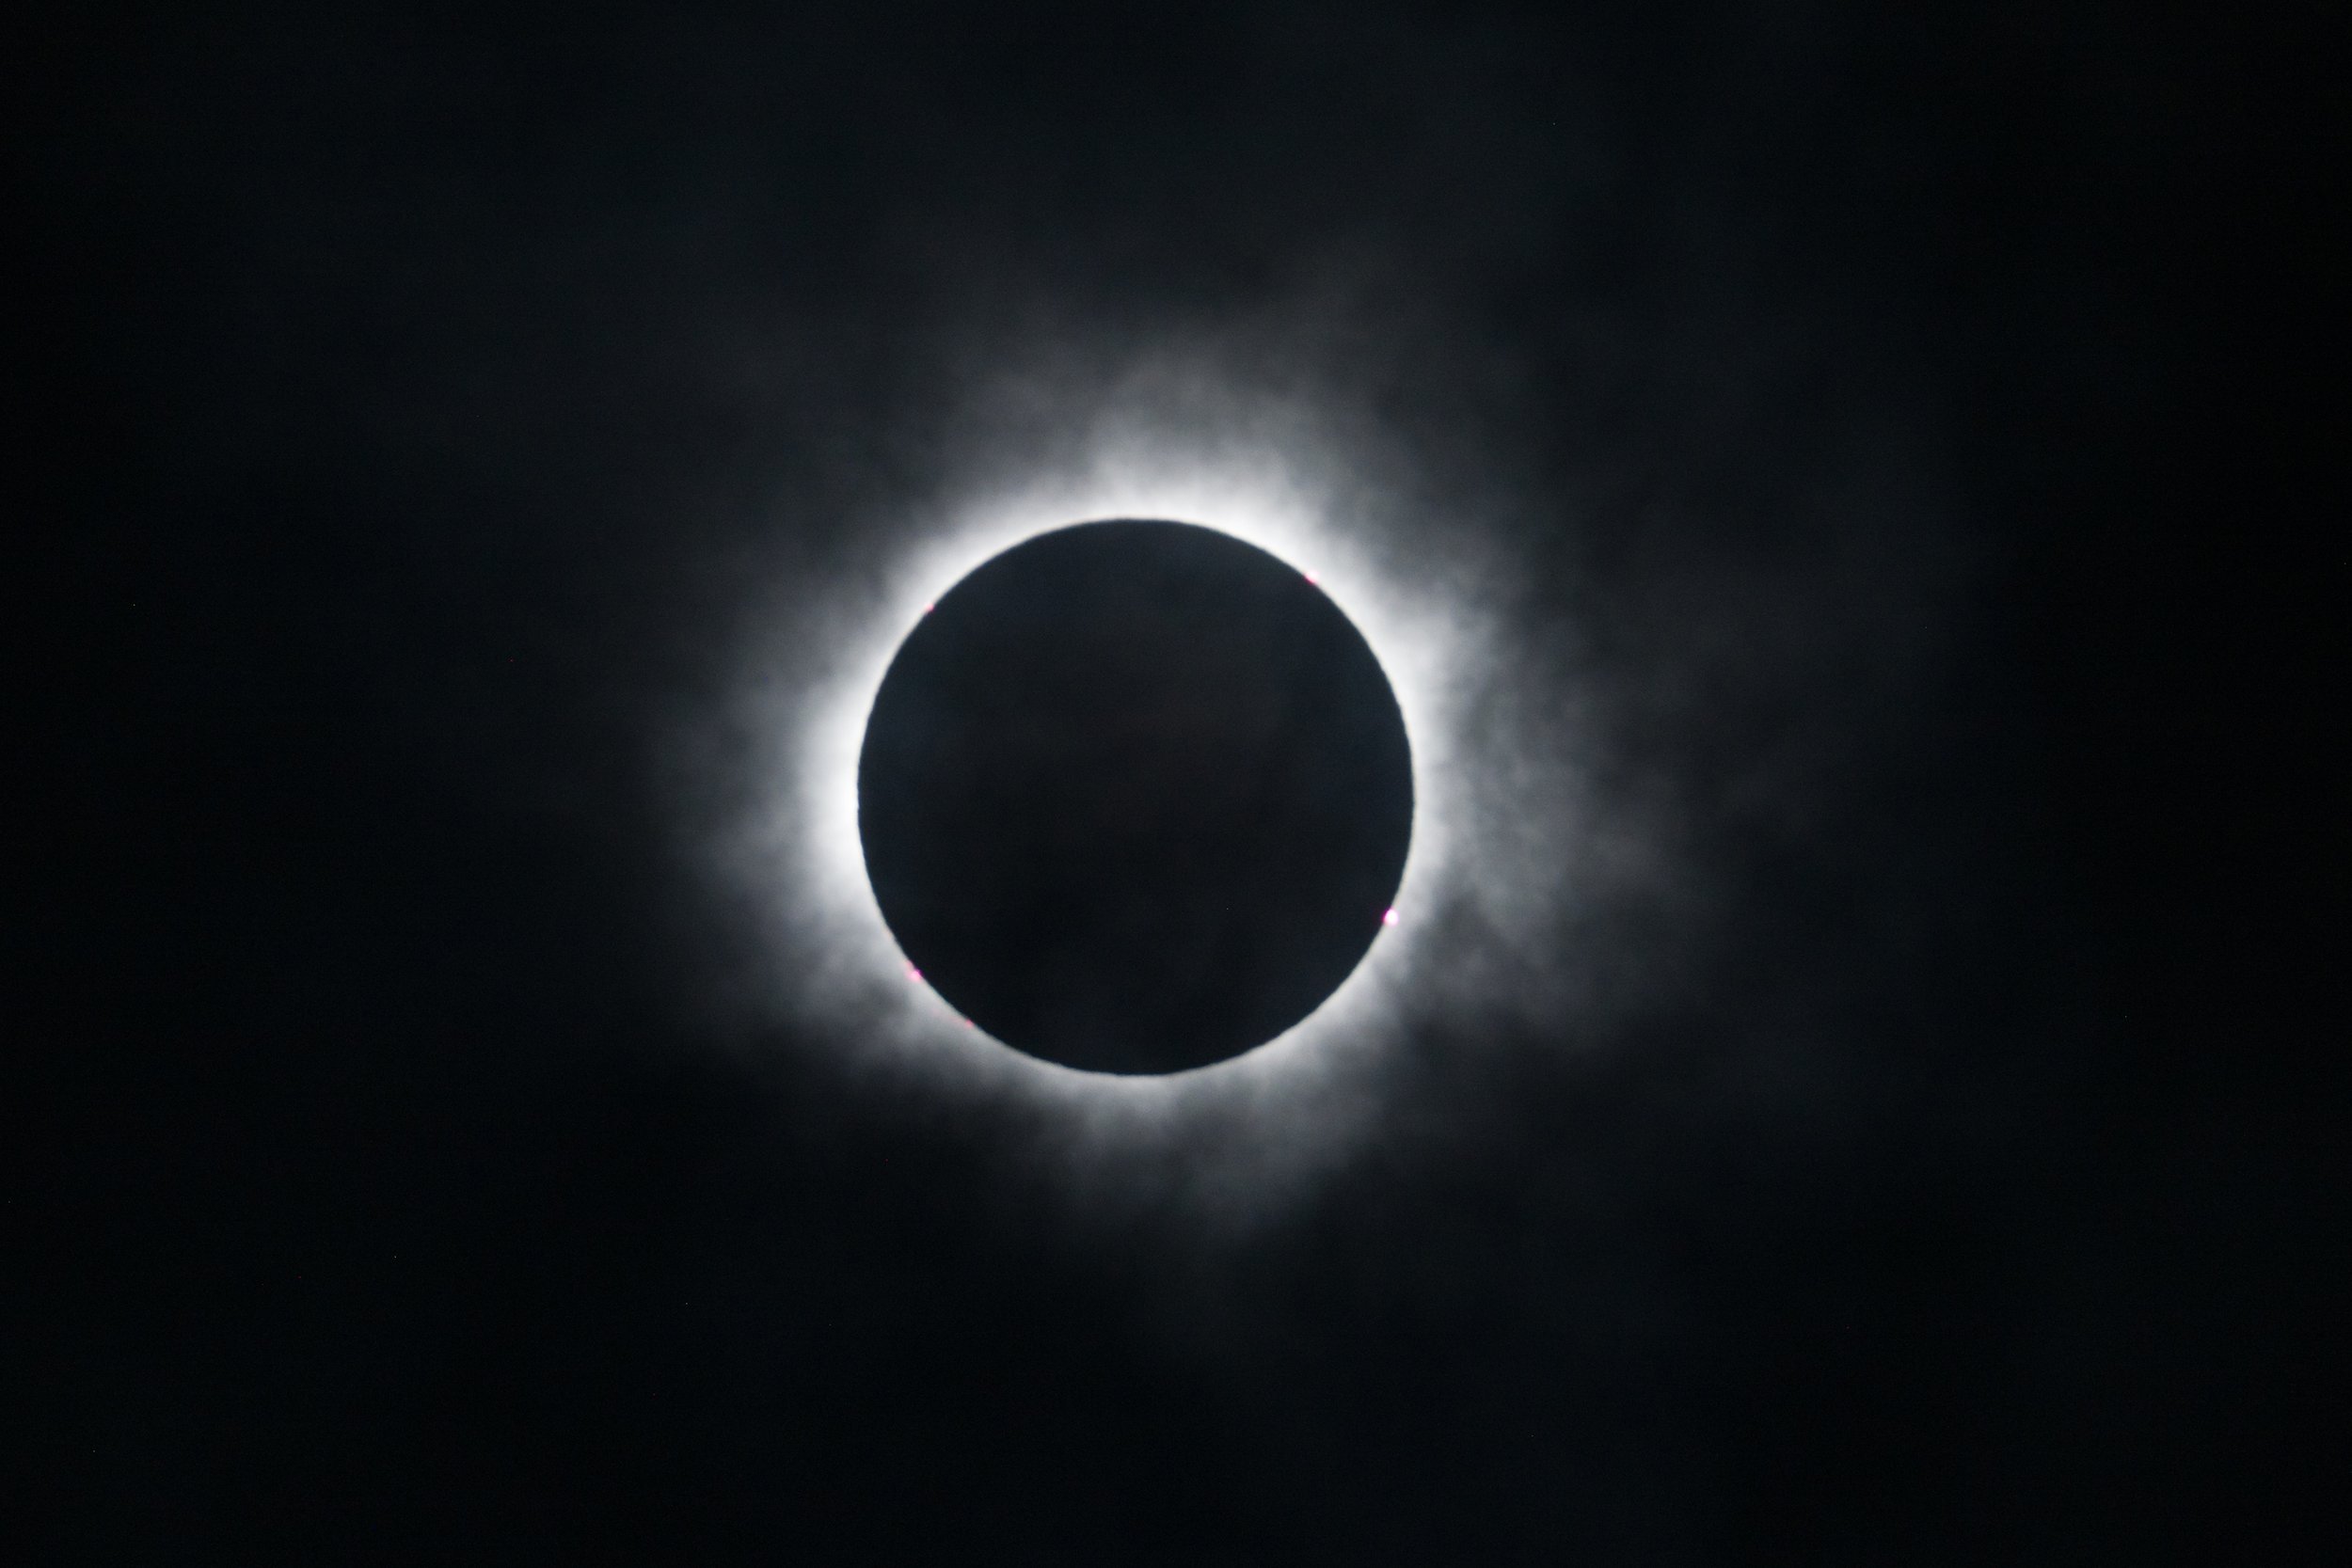
I have been to four total eclipses and two annular eclipses in the past 52 years. This year’s eclipse was different. When I woke up in the morning, I thought we might have a twenty percent chance of seeing the eclipse. It was very cloudy outside. And when eclipse time came, I wasn’t feeling much better about the odds. We did have several breaks in the clouds and were able to see some of the partial phases, but the cloud cover kept returning. Fortunately, when totality came we saw most of it. We did miss the diamond ring effect at first contact but managed to see it at second contact. There was only a period of about forty-five seconds where the whole thing was clouded out. The clouds made for some interesting photos.
One of the real joys of witnessing a total solar eclipse is taking the time to absorb all that is going on around you during totality. Feeling the temperature drop, watching, and listening to the reaction of the local wildlife, seeing the streetlights come on, checking out the glow of sunset colors on the horizon, and watching the reaction of the people nearby. If you are busy working your camera and taking pictures of the event, you may miss a lot of the experience. That is why I was so excited to photograph this eclipse without needing to touch my camera for more than a few seconds as I unscrewed the solar filter as totality began and replaced once totality was over.
Modern technology made this all possible. Most photographers are busy with not only removing and replacing their solar filters, but also tracking the sun, bracketing their exposures, and pressing the shutter button. I used the Benro Polaris motorized tripod head with the Astro unit to track the sun for me, and the Nikon z9’s built in intervalometer with the bracketing option to take my pictures. I was even able to set the starting time when the camera would begin taking pictures hours ahead of time.
Feisol 3772 tripod; Benro Polaris motorized tripod head with Astro unit; Nikon Z9; Tamron 150-500mm Z mount lens (not pictured - solar filter from Thousand Oaks Optical)
To get an idea of how the Benro Polaris tracks the sun (and stars) watch my video here. My scenario for the eclipse went like this. First, I decided I really didn’t need pictures of the partial phases, since I had photographed them before. And what is really the best part of any eclipse is totality. If I had chosen to shoot the partial phases I would have set my intervalometer differently and made a change when taking off the solar filter and I’ll go into that in a bit.
My first step was to start tracking the sun. I began this process about an hour before first contact of the moon with the sun. To do this I placed the Polaris on my tripod and leveled my tripod using it’s leveling base. Then I plugged an external battery pack into the Polaris to make sure I did not lose power for the 3-4 hours I was going to be using it. My next step was to set up my intervalometer on my Nikon.
I chose to use the Nikon’s intervalometer as opposed to the Polaris’s intervalometer because Nikon cameras have a quirk that when you plug them into a source (in this case the Polaris) the whole live view/LCD function of the camera does not work. This is not the same on other manufacturers cameras. I know when I used a Canon with the Polaris, I was still able to access live view and all the menu functions. I can’t with my Nikon. This means I had the camera plugged into the Polaris to set up the tracking of the sun and then unplugged the camera from the Polaris to use the Nikon’s Interval Timer. I accessed Interval Timer on my Nikon and set the start time to 2 minutes before totality. (I also set my watch to go off at the same time to remind me to remove the solar filter) I set the interval for 5 seconds and then went to the Options setting and select Bracketing and then set it to take 5 pictures at 2 stops apart in exposure. Which means every five seconds the camera was taking a 5 shot bracket sequence of images 2 stops apart. I had the camera set at 1/500 sec at f/8 and an ISO of 64. To be honest the ISO was too low, and I would have had more successful images had I set the ISO to 400, a lesson I will remember next time! With the 1/500 of a second shutter speed and the bracket sequence I was taking a picture at 1/30 sec; 1/125 sec; 1/500 sec; 1/2000 sec; and 1/8000 sec. This covered the range of exposures I would need from Bailey’s Beads, through the Diamond Ring and into the Totality phases of the eclipse.
Choosing the Interval Timer
Choosing the Bracket Option in the Interval Timer
Setting the bracket to five frames at two stops apart
Next, I placed my camera with my Tamron 150-500mm lens on the Polaris. Then I did my calibration and alignment as demonstrated in the Polaris video mentioned above and started tracking. Then I just had to sit back and observe all that was going on. When my watch alarm went off, I unscrewed the solar filter and let the camera and tracker do their thing. This way I got to enjoy the whole eclipse without worrying about my pictures. It was the most enjoyable eclipse experience I have ever had.
The clouds came and went
This isn’t the corona, it is backlit clouds!
The clouds did part and I was able to get one successful corona image.
The clouds made for some interesting color at the second diamond ring phase.


